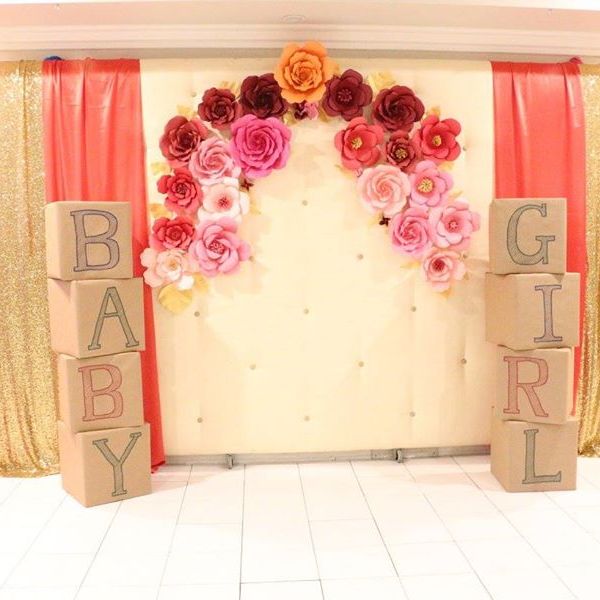
I made a small flower wall for my baby shower this past weekend and wanted to share how I made it. The general concept is pretty easy:
- Trace and cut petals of different sizes
- Usually 5 of each size: large, medium, small
- templates are available for free online, don’t waste your money on buying templates
- Cut a slit at the bottom or base of each petal. Overlap and glue the two pieces together so the petal stands up a bit.
- Curl the top edges. The cut and curl of the edge of the petal is what differentiates different types of flowers so you can get creative here.
- Glue the base of each same size petal to a cardboard circle or to each other so the base of the petals make a circle. Overlap the petals just a bit as you work them into a circle.
- Glue the smaller petals inside the larger ones to complete your flower.
- Centers and leaves are nice touches and full detailed tutorials are in the links below!
Shopping List for 21 Flowers (and some small ones)
- Cardstock – 60-100lbs, any less weight and they won’t be sturdy, any more weight and they won’t curl well.
- Michael’s Recollection Pink Buttons Cardstock (50 Sheets)
- Michael’s Recollection Shades of Red Cardstock (50 sheets)
- Michael’s Recollection Paper Flower Cardstock (50 sheets)
- 3-4 Sheets of Gold Cardstock for the leaves (or you can make them green)
- Scissors (no need for an exacto knife)
- Tacky Glue (glue gun is not necessary but may dry faster than tacky glue, elmer’s glue doesn’t hold the card stock well)
- Panels of a cardboard box panels that you would normally throw away


Roses
- Instructions on Country Hill Cottage (with video)
- PDF template you can print
- My notes:
- I made one big one with all 4 layers of petals (XL, L, M, S) and the rest were medium sized with 3 layers of petals (L, M, S)
- I tried to fit all the petal templates on 2 pieces of cardstock for each color to not waste paper.
- The roses look the most intricate because of the way the petals are curled. Pay attention to this part of the video – the outer layers are curled differently than the inside layers of petals.
- The cone center takes the most time but it’s worth it
- I had some extra petals leftover because I guess I didn’t overlap as much as I should have and ended up making some smaller flowers out of it with one rose center and 1 layer of petals


Flower #2
- PDF Template you can print
- No video or tutorial for this one but the person that designed this one has a lot of other styles and the concept is the same:
- trace and cut petals of different sizes
- cut a slit at the bottom of the petal
- Overlap the two sides and glue
- Curl out the edges
- glue same size petals in a circles with the largest ones on the outside and the smallest ones on the inside
- Link to her page
- I made one big one with 4 layers and the rest were small with 3 layers of petals


Flower #3
- Link to Tutorial on Ash and Crafts
- PDF template you can print
- Best video of all of them in my opinion
- Tutorial on how to make the center is in this tutorial and I used this center for Flower #2 as well
- I made one big one with 3 layers and the rest small with 2 layers
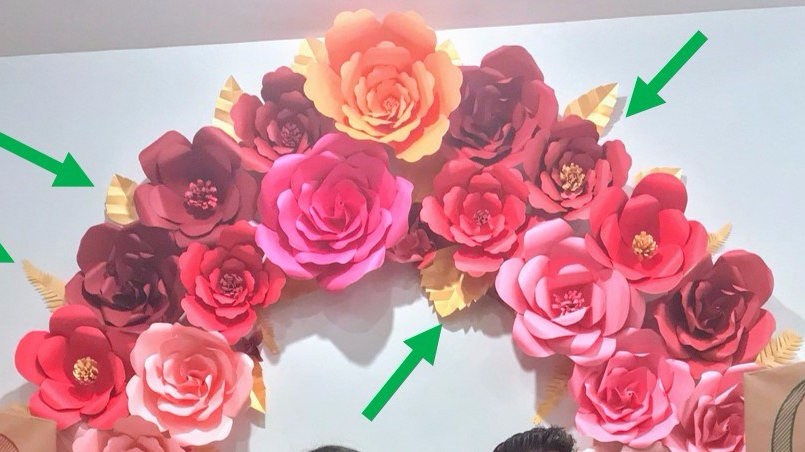
Leaves
- Tutorial
- The easiest of all of them!
- Another template option: https://drive.google.com/file/d/0BwEanHFJunAwbklwakVDTXJ2bkE/view
- You have to download the zip file and extract
- This is much harder to cut out since it has so many leaves! You might actually need an exacto knife – or just stick with the first style of leaf.
Hanging the Flowers on a Wall
- I used 3M Poster Strips when we hung them at my house for the first party. They worked the best and were easy to remove from the wall, you just have to be careful that they don’t tear the paper when you remove them.
- The next day, I used double sided tape at the hall because we were sticking them on this vinyl cushioned wall and the 3M strips didn’t work. Some fell since the vinyl wasn’t completely smooth so we had to use more tape. They stayed on for all 3 hours after the second batch of tape and some positive thoughts J
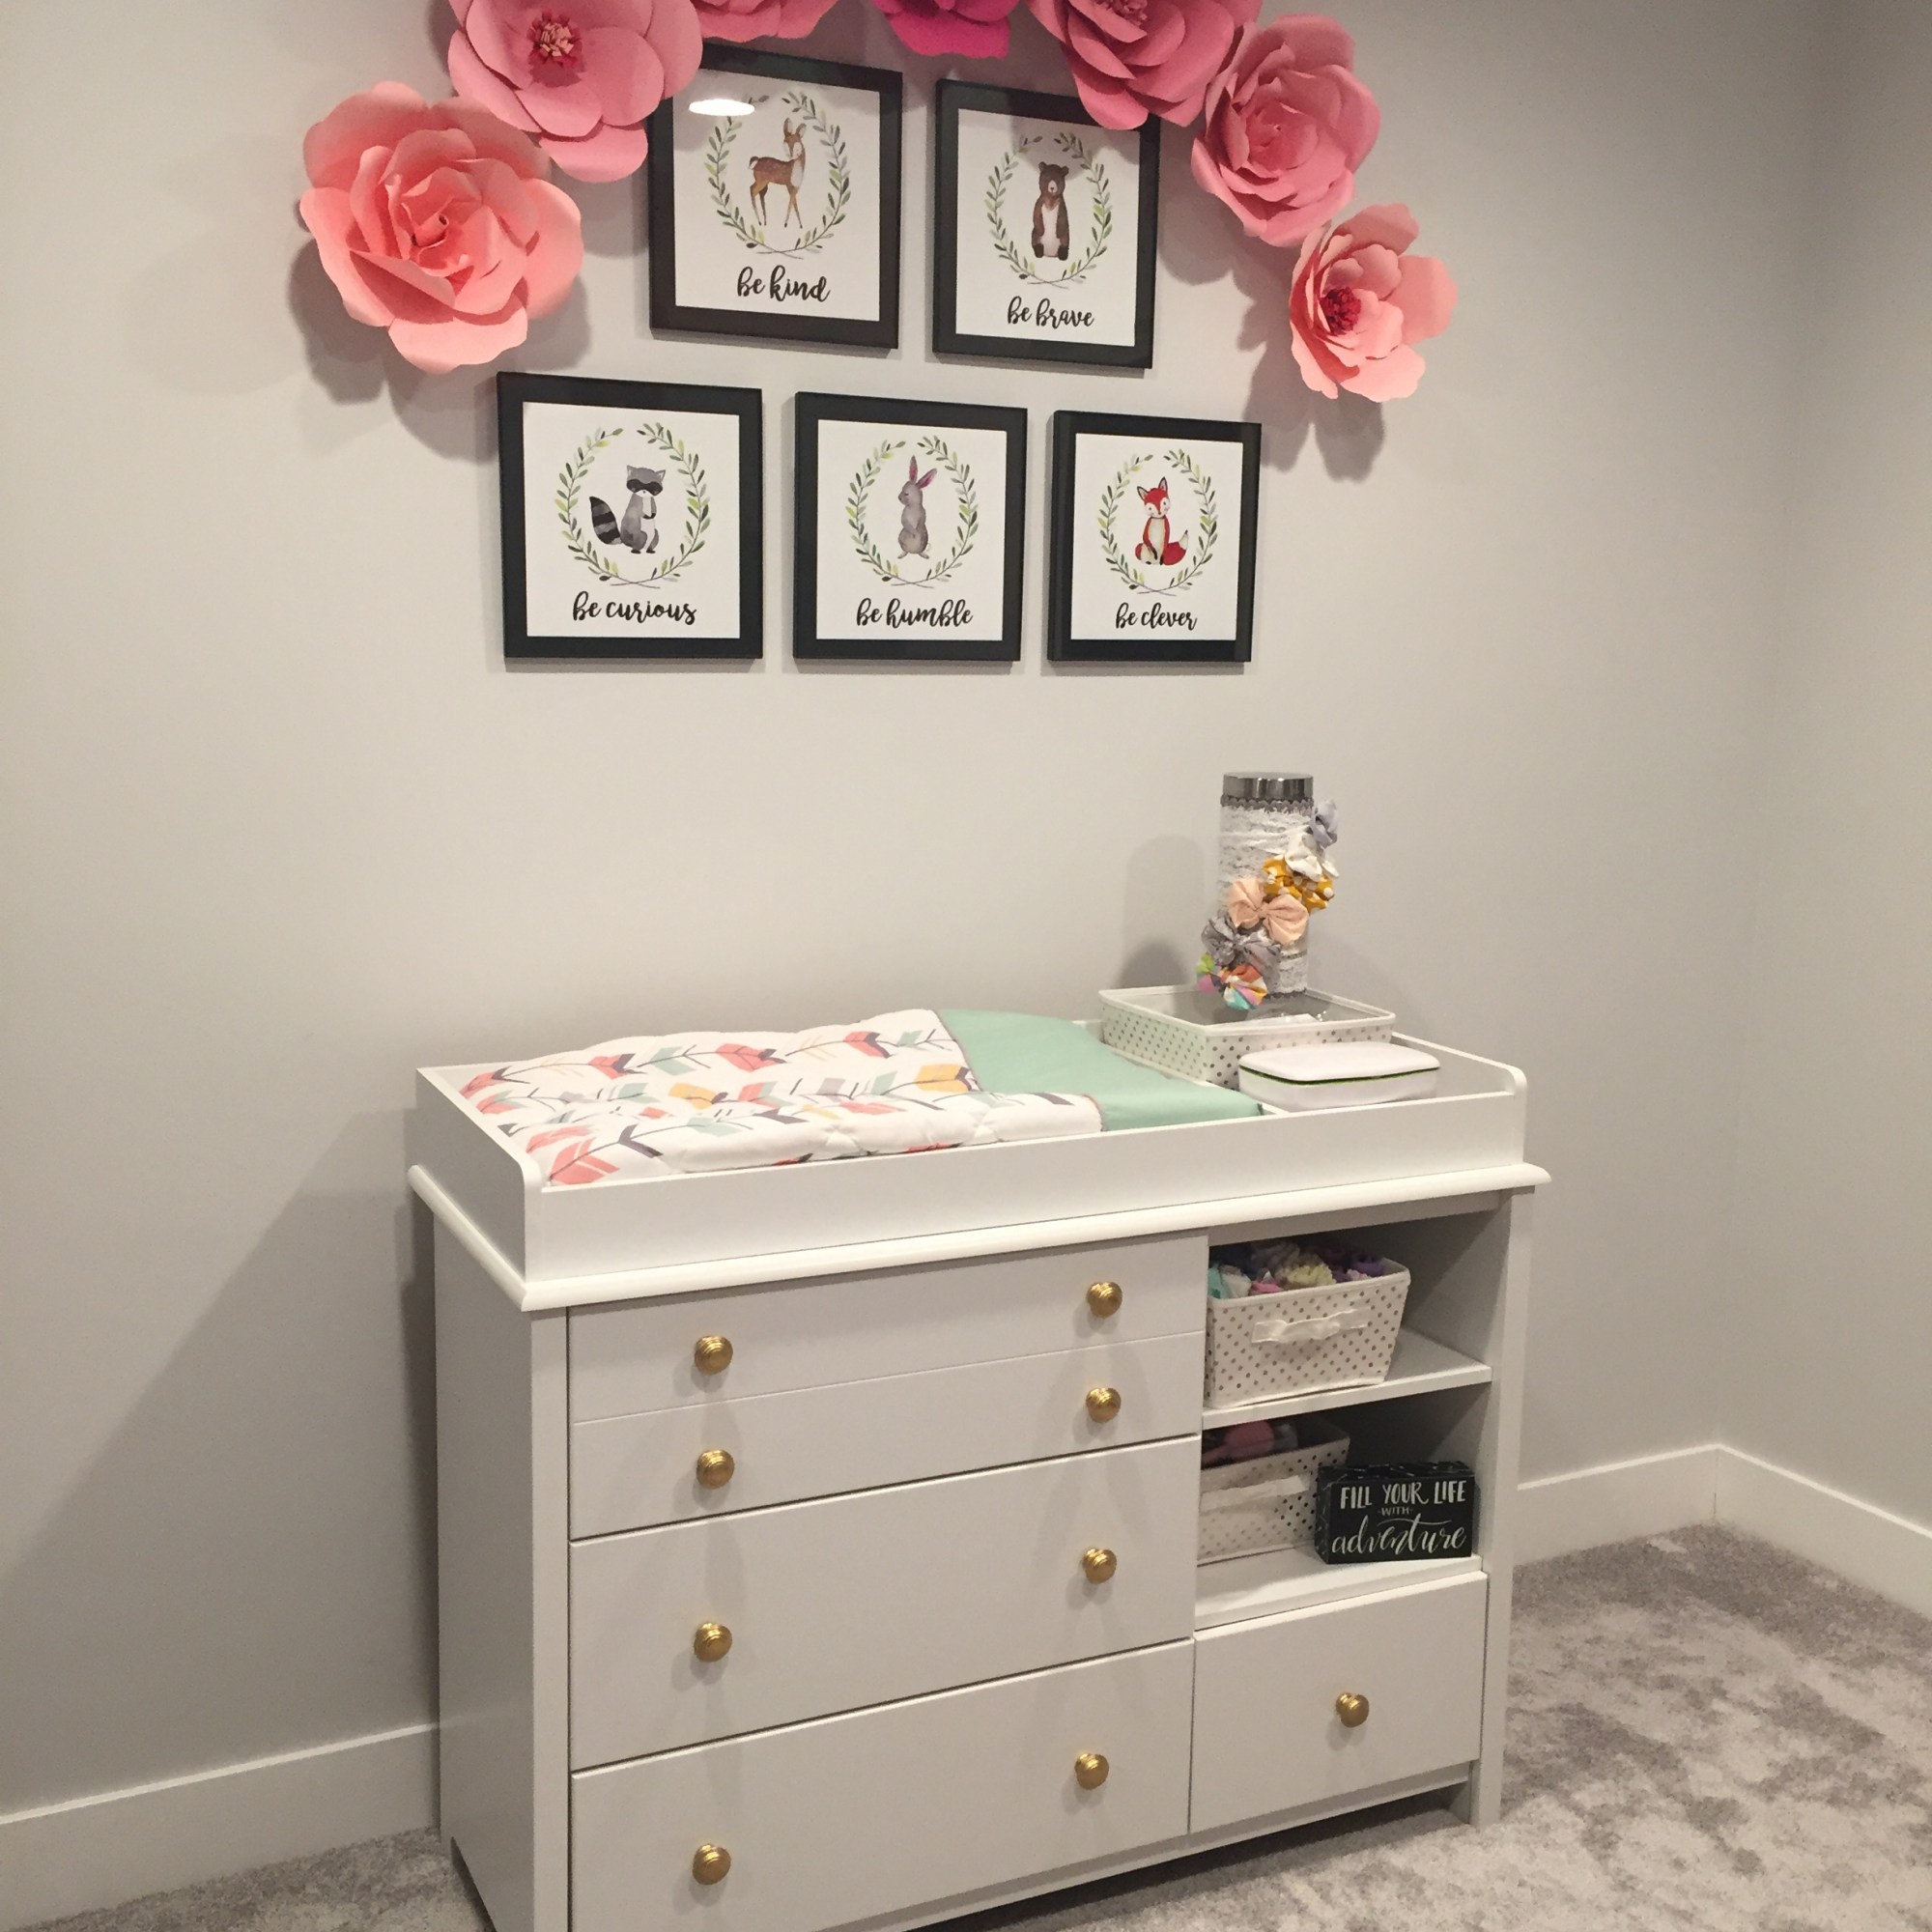
- I’ve also heard of people gluing them on a poster board first and then hanging the poster board up with 3M strips. I wanted to remove them and eventually post them up in her nursery so I wanted to be able to tape and move each flower so the tape/3M strips worked better for me.